


Document Actions
gvSIG-Desktop 1.1. Manual de usuario.
Carga de una capa a través de ArcIMS
Cargar una capa usando el protocolo arcims
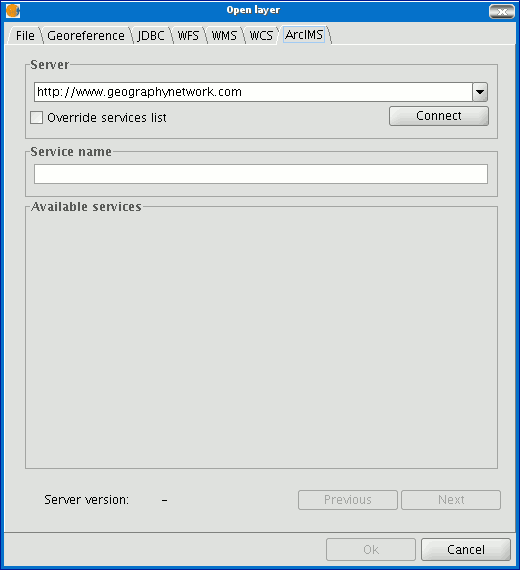
Our example uses the ESRI ArcIMS server. Its URL is http://www.geographynetwork.com. This is the address a web browser requires to access the HTML visual display unit.
Before loading a layer from this server, the datum WGS84 in geodesic coordinates (code 4326) has to be set up previously as the view’s spatial system.
Conexión al servidor
If the extension is loaded correctly, a new ArcIMS data source will appear in the “Add layer” dialogue box.
Adding a new layer to the view
If the server has a standard configuration, simply indicate its address. gvSIG will try to find the servlet’s full address.1 If the servlet has a different path, you will have to write it into the dialogue box.
When the connection has successfully been made, the server version, its compilation number and a list of image and geometry services available are shown.
The service can be selected from the list or can be written in directly.
Finally, if the “Override service list” check box is enabled, gvSIG will delete any catalogue that has already been downloaded and will request them again from the server.
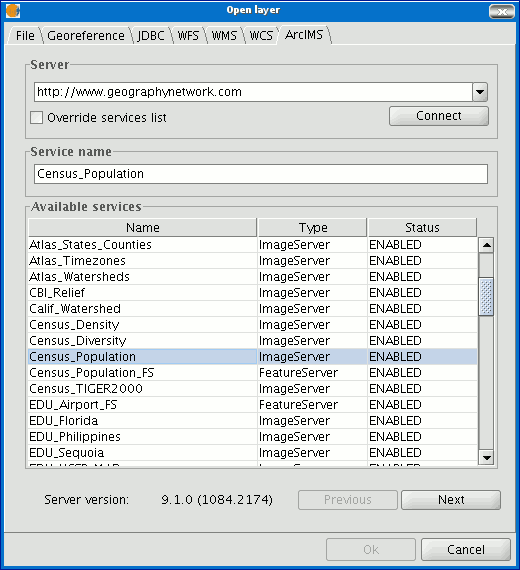
List of services available
Acceso al servicio
The next step is to select the ImageServer type service required by double clicking or selecting it and clicking on "Next". The dialogue box changes and an interface with two tabs appears (fig. 3). The first tab shows the metainformation given by the server about the service’s geographic limits, the acronym of the language it has been written in, units of measurement, etc. It is a good idea to find out if a coordinate system has been defined in the service (using EPSG codes) as this can directly influence the requests made to the server, as Figure 3 shows.
N.B. If no coordinate system has been defined in the service, the extension will assume that it is the same coordinate system as the one we have defined for the view.
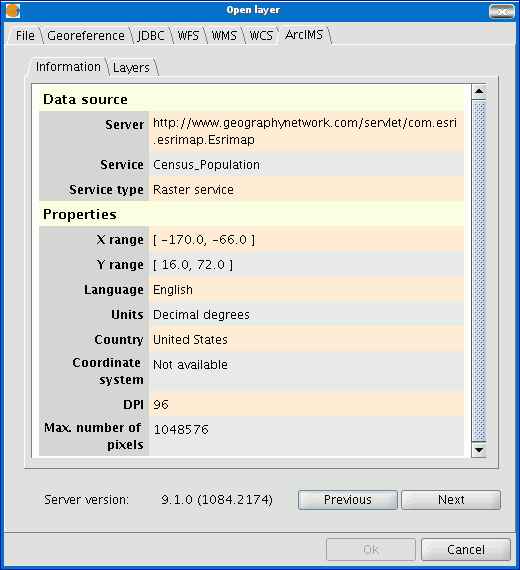
Figure 3: Metadata from the ArcIMS server
We can continue by clicking on "Next" or return to the previous dialogue by clicking on "Change service”.
Selección de capas
The last dialogue box is the layer selection. We can define a name for the gvSIG layer or leave the default value (the service name) in this window. A box appears below with a list of the service layers in tree form. When the mouse is moved over the layers, information about these layers appears: extension, scale ranges, type of layer (raster or vector image) and if it is visible by default in the service (fig. 4).
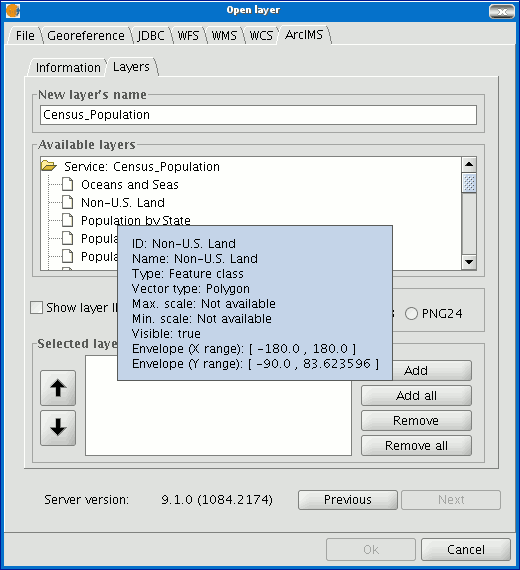
Figure 4: Metadata from a service layer
We can view each layer’s ID via the “Show layer ID” check box. This check box is useful when there are layers whose descriptor is repeated. Therefore, the only way to distinguish between them is via an ID, which will always be unique. A combo box is also available to select the image format we wish to use to download the images. We can choose JPG format if our service works with raster images or one of the other remaining formats if we want the service to have a transparent background.
N.B. The transparency in 24-bit PNG images is not correctly displayed in gvSIG 0.6. This type of files will be supported in gvSIG 1.0.
The box with the layers selected for the service appears below. If you wish, you can add just some of the service layers and also reorganise them. This makes the service view totally personalised.
N.B. The configuration cannot be accepted until a layer has been added.
N.B. Multiple selections of service layers can be made by using the Control and CAPS keys.
Añadir la capa a la vista
When the “Ok” button in the dialogue box is pressed, a new layer appears in the view (fig. 5). If no layer has been added previously, the extension of the ArcIMS layer is shown, as per the standard gvSIG procedure.
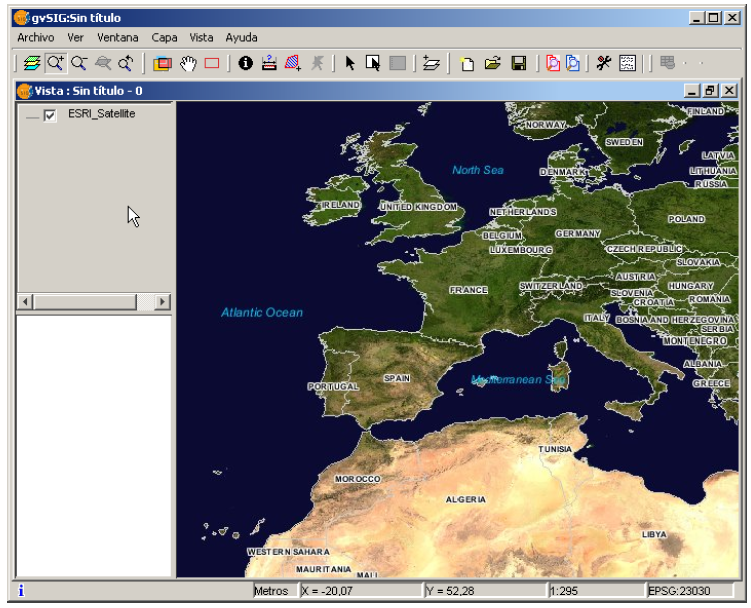
Figure 5: ArcIMS layer added to the gvSIG view.
It must be remembered that when the layer extension is shown, the layers that make up the chosen configuration may not appear and a blank or transparent image appears instead. If this occurs, use the scale control dialogue box (V. Information about scale limits section).


